
- S3 버킷 생성
- Spring 과 연동
- REST API 요청 테스트하기 (Postman)
1. S3 버킷 생성
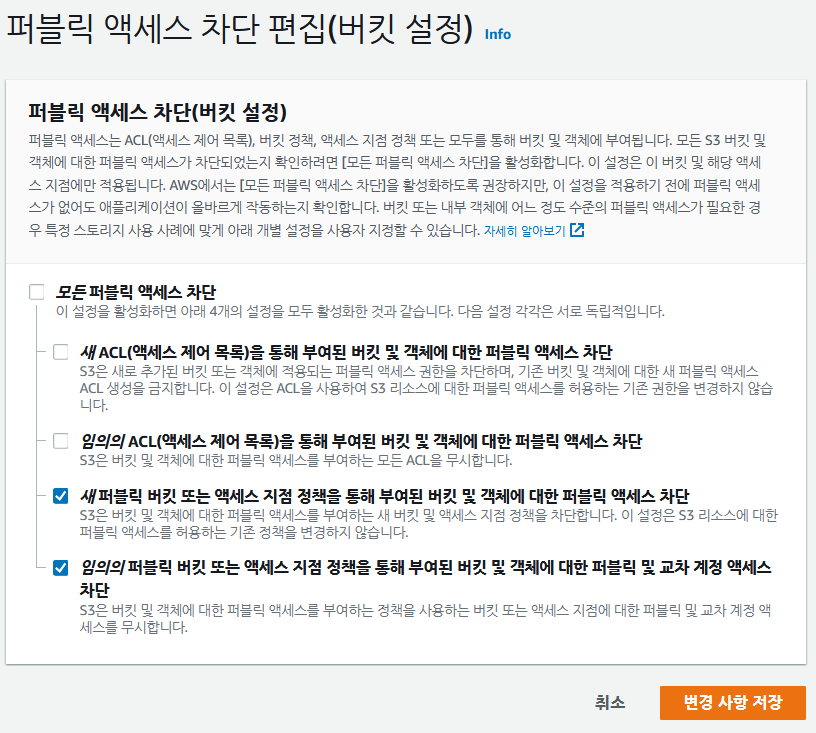
위와 같은 권한으로 S3 버킷을 생성한다.
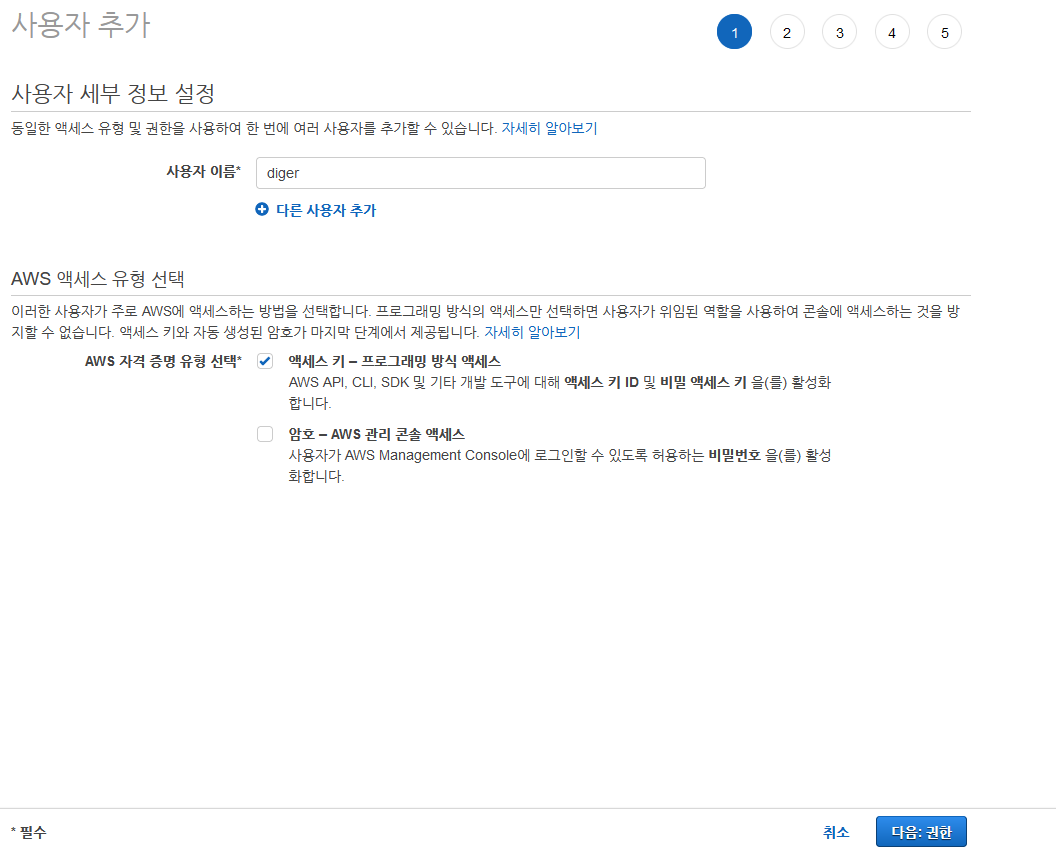
버킷 생성 후 버킷에 접근할 IAM 를 생성한다.
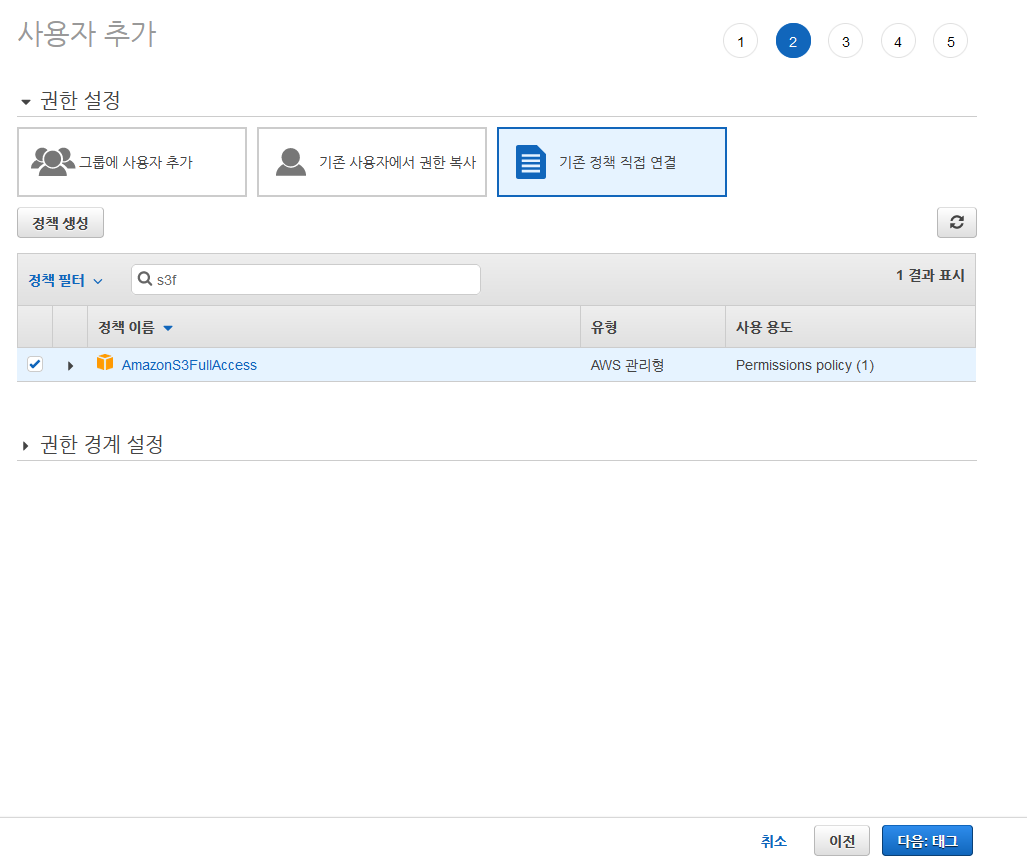
다음과 같은 정책을 연결시켜 주면 IAM 셋팅은 끝이다.
그렇게 IAM 를 생성하면 해당하는 AccessKey 를 발급하는데 이를 안전한 공간에 보관해두자.
2. Spring 과 연동하기
application.yml
1
2
3
4
5
6
7
8
9
10
11
12
13
14
15
16
17
18
19
20
21
22
cloud:
    aws:
        stack:
            auto: false
        region:
            static: ap-northeast-2
        ses:
            access-key: SES 액세스 키
            secret-key: SES 시크릿 키
        s3:
            credentials:
                access-key: IAM 액세스 키
                secret-key: IAM 시크릿 키
            bucket: 버킷이름

spring:
    servlet:
        multipart:
            max-file-size:
                20MB
            max-request-size:
                20MB
cloud 에 묶여있는 설정은 반드시 넣어줘야하는 내용들이다.
하지만 spring servlet 부분은 필수는 아니긴하다.
spring.servlet.multipart 부분은 image 나 video 컨텐츠를 전달 받을 때 그 크기를 지정해주는 것이다.
나는 저 옵션을 넣지 않았기 때문에 처음 테스트에서 오류가 났었다.
AwsS3Config.java
1
2
3
4
5
6
7
8
9
10
11
12
13
14
15
16
17
18
19
20
@Configuration
public class AwsS3Config {
    @Value("${cloud.aws.s3.credentials.access-key}")
    private String accessKey;

    @Value("${cloud.aws.s3.credentials.secret-key}")
    private String secretKey;

    @Value("${cloud.aws.region.static}")
    private String region;

    @Bean
    public AmazonS3Client amazonS3Client() {
        BasicAWSCredentials awsCredentials = new BasicAWSCredentials(accessKey, secretKey);
        return (AmazonS3Client) AmazonS3ClientBuilder.standard()
                .withRegion(region)
                .withCredentials(new AWSStaticCredentialsProvider(awsCredentials))
                .build();
    }
}
S3 와 연결하기 위한 Config 파일이다.
액세스 키, 시크릿 키, 지역을 application.yml 에서 가져온 후
S3 접근 인증에 대한 S3Client 객체를 생성하는 내용을 Bean으로 등록한다.
ProductPostController.java
1
2
3
4
5
6
7
8
9
10
11
12
13
14
15
16
17
18
19
20
21
22
23
24
25
26
27
28
29
30
31
32
33
34
35
36
37
38
39
40
41
42
43
44
45
46
47
48
49
50
51
52
53
54
55
56
57
@PostMapping("/image")
public ResponseEntity<Object> postImage(MultipartFile[] multipartFileList, Long postId) throws IOException {

    List<String> imagePathList = new ArrayList<>();

    for (MultipartFile multipartFile : multipartFileList) {
        // 파일 이름
        String originalName = multipartFile.getOriginalFilename();

        // 파일 크기
        long size = multipartFile.getSize();

        // ObjectMetadata
        ObjectMetadata objectMetaData = new ObjectMetadata();
        objectMetaData.setContentType(multipartFile.getContentType());
        objectMetaData.setContentLength(size);

        // S3에 업로드
        amazonS3Client.putObject(
                new PutObjectRequest("버킷이름/폴더이름", originalName, multipartFile.getInputStream(), objectMetaData)
                        .withCannedAcl(CannedAccessControlList.PublicRead)
        );

        // imagePath = 업로드를 마친 사진이 들어있다.
        String imagePath = amazonS3Client.getUrl("버킷이름/폴더이름", originalName).toString();
        imagePathList.add(imagePath);
    }

    ProductPost targetPost = productPostRepository.findById(postId).get();
    StringBuilder sb = new StringBuilder();

    if (imagePathList.size() == 1) {
        sb.append(imagePathList.get(0));
    }
    else if (imagePathList.size() > 1) {
        for (int i = 0; i < imagePathList.size(); i++) {
            if (i == imagePathList.size() - 1) {
                sb.append(imagePathList.get(i));
            }
            else {
                sb.append(imagePathList.get(i) + ",");
            }
        }
    }

    ProductPostFile productPostFile = ProductPostFile.builder()
            .productPost(targetPost)
            .imageLink(String.valueOf(sb))
            .createdAt(LocalDateTime.now())
            .updatedAt(LocalDateTime.now())
            .status(Status.AVAILABLE.getAuthority())
            .build();

    productPostFileRepository.save(productPostFile);

    return ResponseEntity.status(HttpStatus.OK).body(new HashMap<>());
}
MultipartFile 인터페이스는 스프링에서 업로드 한 파일을 표현할 때 사용되는 것이다.
MultipartFile 인터페이스를 이용해서 업로드한 파일의 이름, 실제 데이터, 파일 크기 등을 구할 수 있게된다.
이 기능을 바탕으로 S3 버킷에 업로드하는 것이다.
3. REST API 요청 테스트하기 (Postman)

Postman 으로 테스트한 결과다. 기존에는 raw 탭에, JSON 타입을 지정해줬지만 이미지가 있을 땐 다르다.
Form-data 형식으로, Key-Value 의 꼴로 이미지를 요청 받은 후
해당 이미지가 어떤 게시글에 등록될 것인지에 관한 인덱스를 함께 넣어 요청해준다.
따라서 이미지를 업로드 하기 위해선, 게시글 작성을 먼저 요청하고 그 반환값으로 해당 게시글의 인덱스를 획득한 후 이미지를 요청하는 흐름이 필요하다.